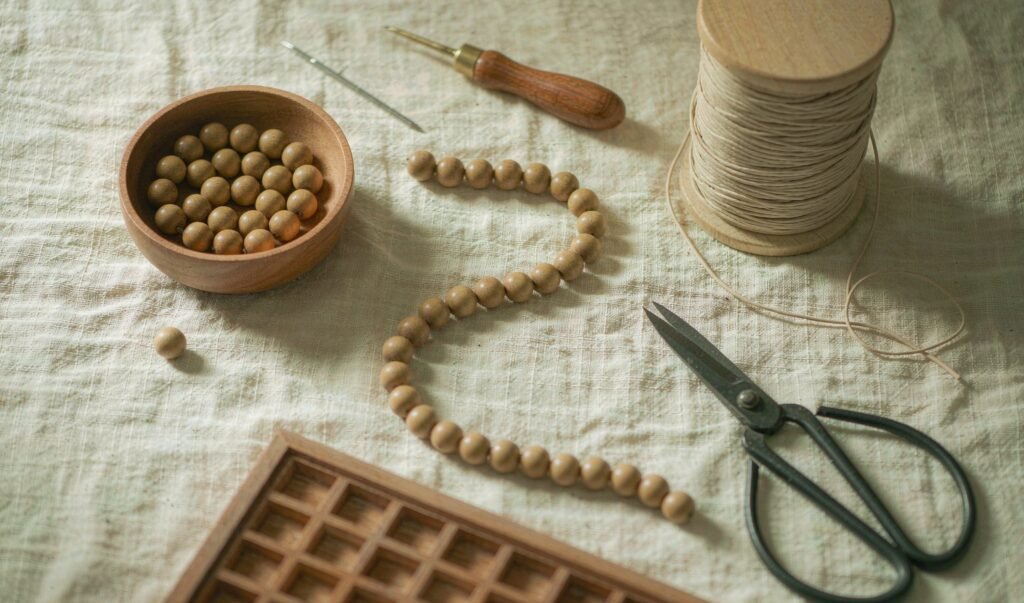
The cord decides how the bracelet wears. Each type has trade-offs, and the right one depends on the beads you have and how you want the finished piece to feel.
For elastic, a secure surgeon’s or double overhand knot pulled very tight is the standard finish; a tiny dot of clear adhesive on the knot adds peace of mind once it is dry. For cord, a few tight square knots and trimmed ends keep the strand from slipping. For wire, crimp beads squeezed with pliers lock the ends.
Practice on an inexpensive strand before you touch beads you care about. A few repetitions teach you the right tension, and you will waste less cord once the motion feels natural.
The usual errors are cutting the cord too short, pulling the knot before it is seated, and forcing beads with rough holes onto thin cord. Go slowly, support the cord at each hole, and leave a little slack for the knot.
If the beads are valuable to you or the cord has already failed, a quick professional restring is worth it. A pro can also re-tip damaged holes that would otherwise cut fresh cord.
A small box for cords, needles, and pliers keeps a beginner setup from disappearing between projects. Label the cord sizes so you grab the right one without testing, and keep a spare needle since the thin wire bends with use. A tidy kit makes the difference between restringing taking ten minutes and putting it off for a month.
Elastic cord commonly comes in 0.5, 0.6, 0.7, and 0.8 mm, and the right size depends on the bead hole. Smaller holes need the thinner cord, while bigger holes let you double up for strength. Match the cord to the hole rather than forcing a thick cord through a tight bead, which is the fastest way to fray the cord before you even finish.
Crystals, gemstones, and wood beads from YouZmyshop are sold as decorative and cultural objects. They are not intended to diagnose, treat, cure, or prevent any disease or health condition. Cultural and historical references describe traditions, not promised effects.